

Hello all! I haven’t blogged in a LONG time! Partially because I have been struggling in my paleo journey and partially because when I have been eating well, I haven’t been very creative in the kitchen. There have been so many new paleo cookbooks out in the last year that I didn’t have to work very hard on my own to be creative. However I recently got the bug to experiment a little in the kitchen and thought that I would share it with everybody.
I have been making my own bone broth for about 3 years. I always have chicken and beef bone broth on hand and usually have lamb too. There are currently some pork bones and feet in the fridge waiting to go in the pot for the first time as well. Typically I make mine on the stove top in a large stock pot because I like to make large batches in one fell swoop rather than more frequent small batches. There has always been a lot of talk of bone broth on the paleo blogs and there is a Facebook page devoted to bone broth (The Bone Broth Pot), but it seems that suddenly the bone broth discussion has exploded. I’m sure its mostly due to the trendy mainstream popularity of broth, and somewhat also to the meteoric rise in popularity of paleo. It seems like there are a million people who want to know how to make it, what the best way to cook it is, and for how long. Everyone has their own favorite way. So which way is best? In reality the answer is whichever way you prefer to cook it that tastes best to you. That is not a very satisfying answer I know. But it got me thinking that maybe the way I have always done it, isn’t the best way. I had plenty of bones, cooking implements, and time during a blizzard, so I thought I’d run a little experiment. I would prepare bone broth by the three most common ways: Stove top, crock pot, and pressure cooker. Afterward I would compare the results of each method.
My Tools: 12 Quart Revere Wear Aluminum Stock Pot on an electric stove, Hamilton Beach 8 Quart Oval crock pot (nothing fancy – just has high, low, and warm settings), and a 6 Quart IP-Duo 60 Instant Pot electric pressure cooker.
What Went into the Pots: To the pressure cooker (being smaller) I added 1 small onion, 1 carrot, 1 stalk of celery, and about 4 garlic cloves. The two larger pots got 2 onions, carrots, and stalks of celery and about 5 to 6 garlic cloves. All of the veggies were unpeeled and only coarsely chopped. The garlic was smashed with the flat side of the knife but unpeeled. In addition to the veggies, I added as many bones as I could fit into each pot and still allow enough room to be covered with water. The bones were a mixture of vertebrae and leg bones. After the bones and veggies were in the pot, I added enough water to cover the bones by about 1 inch. In the crock pot some of the bones poked up closer to the surface of the water. I did not add any other seasonings because I prefer to season when I use the broth. The amount of water I added to each pot was: Instant Pot – about 2.3 quarts, Stock Pot – about 4.75 quarts, and crock pot – about 3.2 quarts. I don’t shoot for any particular amount of water to bones, I just cover the bones with as much water as needed. Although not intentionally planned, the amount of water for each cooking method ended up being about 35% to 40% of the volume capacity of the cooking pot. So accidentally, the bone/water ratio or each cooking method was about the same, which is good for the sake of consistency in the experiment. But PLEASE don’t get neurotic measuring out your water and bones. It isn’t that exact of a science. I just pointed it out to show that the ratio of water to bones was similar for each of my pots so that when you see the results below you’ll know that one pot didn’t have a lot less/more water than the others. Lastly I added apple cider vinegar to each pot. I don’t normally measure it out. I just glug a little into the pan. The bigger the pot, the bigger the glug. I added roughly 2 Tbsp to the Instant pot, 3 Tbsp to the crock pot, and 4 Tbsp to the stock pot —- or roughly 1 tbsp. per quart of added water.


Cooking Methods: A brief summary of how I cooked each pot follows. I put all of the bones in frozen. I did not roast them, because I don’t typically roast my bones when making broth.
Instant Pot: I used the manual cooking setting and cooked on high pressure for 2 hours. I let the pressure naturally release at the end. The cooker errored out during the first heat cycle and did not reach pressure in the allotted time. This is likely due to the frozen bones prohibiting the cooker from getting hot enough to build up pressure fast enough (per the troubleshooting section in the users manual). When I ran the cycle a second time, it worked fine.
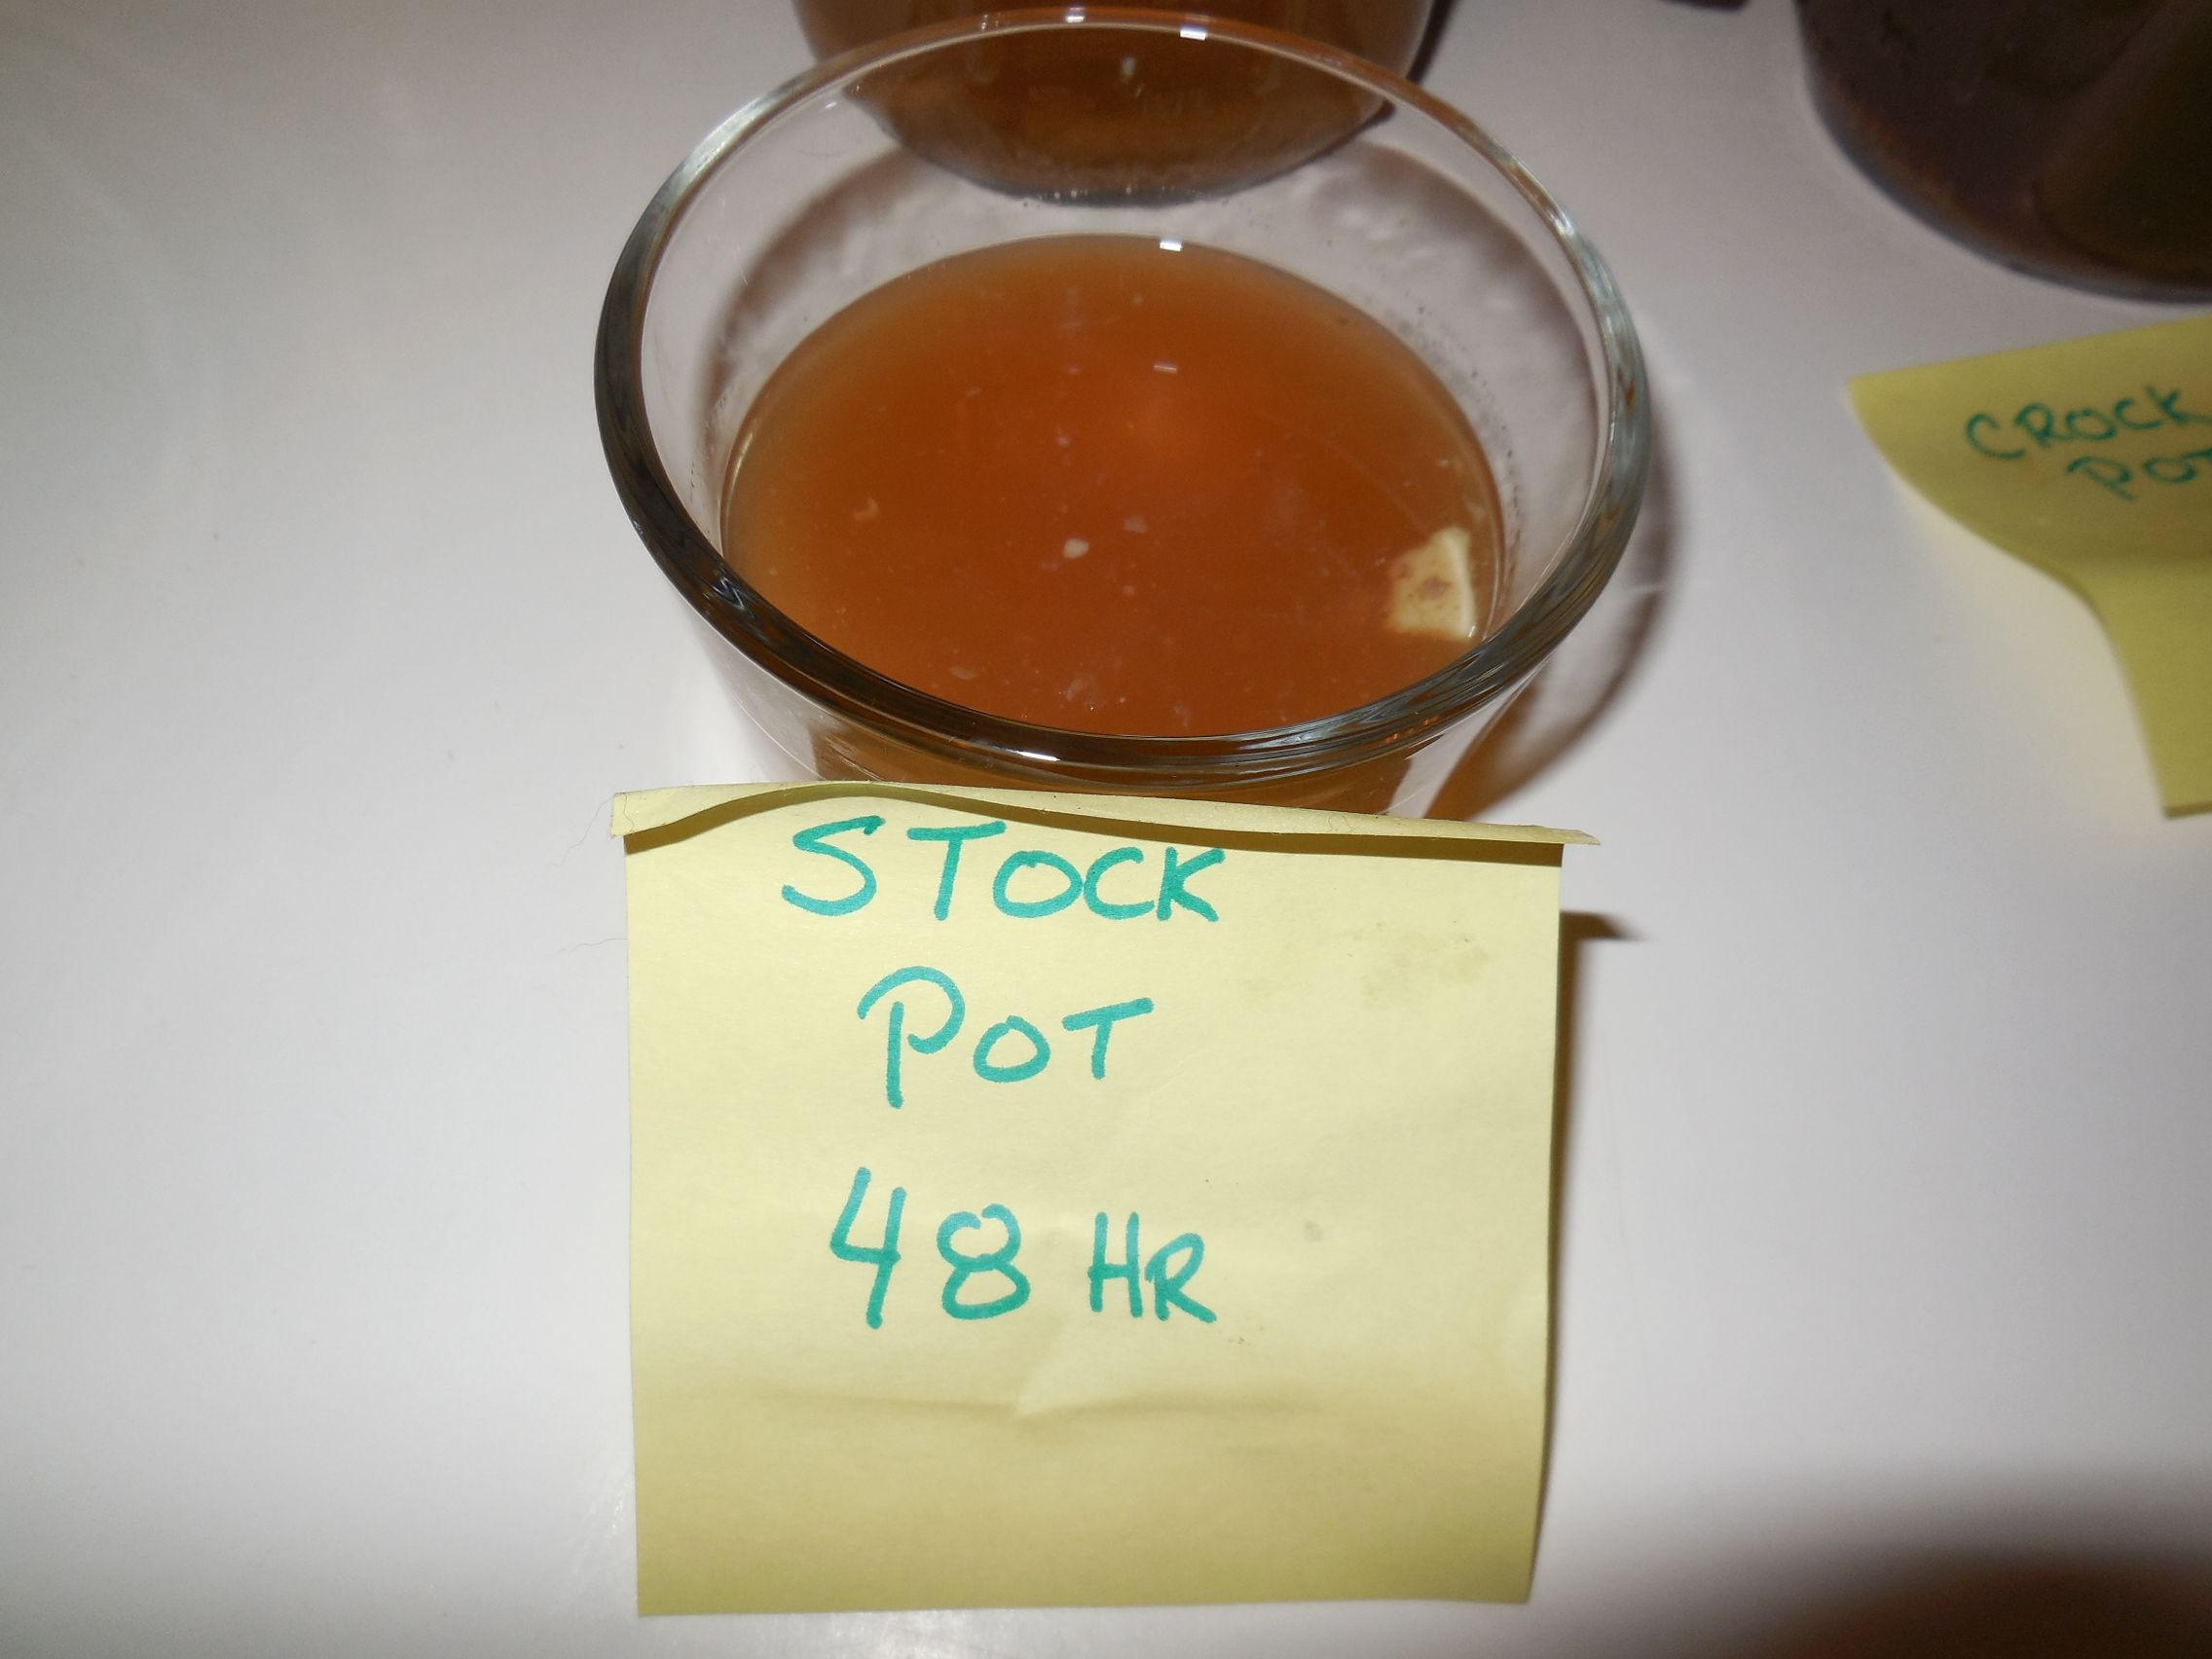
Stock Pot: On high heat I brought the pot to a boil, then reduced the heat to low (a 2 on my stove setting) and cooked covered for 24 hours. This temperature is hot enough to get an occasional bubble to the surface but it does not have an active simmer. At the 24 hour mark I removed about 2 cups of the broth to compare later and then continued cooking for another 24 hours. I did not add any water after I removed the 24 hour sample, but I did add an additional 4 cups of water on the morning of the second day. I did not need to add any water to cover bones, but I wanted to keep the water level in the pot about where it started. I shut the stove off after 48 hours and took another sample.
Crock Pot: I used the high setting on the crock pot for about an hour just to warm it up faster and then turned it to low where it stayed for the rest of the 48 hours. I pulled out a sample at 24 hours and another after 48 hours. I added 1 quart of water before I went to bed on the first day and another quart the next morning. The crock pot was the only method I saw some definite liquid loss from the cooking process. I’m sure this is because the crockpot cooked a bit hotter than the stove and also because the lid doesn’t have a tight seal and steam can readily escape. The low setting on the crock pot is adequate to keep the liquid at a low active simmer.
Results: Let me preface this by saying that my experiment was by no means full proof. There are a number of things that could have effected the results other than just cooking method. While I tried to keep as many variables as possible the same, I didn’t attempt to be scientifically perfect. Please do not let the results sway you from trying any of these methods on your own. However, if you have received similar results you can compare to these and see if maybe a different method would be worth trying. I’ve also included some discussion for each method below as well as recommendations for things to try based on my observations and past experience. This picture shows the 5 samples.

comparison of bone broth samples.
From left to right they are:
1.) Instant pot
2.) Stock Pot 24 hours
3.) Stock Pot 48 hours
4.) Crock Pot 24 Hours
5.) Crock Pot 48 Hours
As you can see the color gets noticeably darker from left to right.
Did they Gel? How did they taste? This is interesting. See below for a discussion of each.
1.) Instant pot – The instant pot sample gelled lightly. I apologize, but I can think of no better words to describe the consistency than “mucus like”. Not a very appetizing description, but neither was the flavor. The color of this broth was about the same as the taste. Very watery and very little flavor. I’ll discuss why I think this is later. I’ve made better broth in the instant pot, I think this was just a bad batch — mostly due to some bad choices on my part. The bones were only very lightly pitted and still hard. There was an odd floating layer below the fat in the jar. This broth clearly just didn’t cook enough. Blech!

Instant Pot Broth After 2 Hours. Its tastes as bad as it looks.
2.) Stock Pot 24 hours – Also very lightly gelled. Similar to the instant pot gel, but with a better color. Still pretty light — more like chicken broth in color. flavor was also pretty weak. Glad I cooked it longer. I didn’t check the condition of the bones at 24 hours.

Stock pot broth after 24 hours had a light gel.
3.) Stock Pot 48 hours – This is where it gets interesting. This sample had absolutely no gel. Gelling is a funny thing. If it isn’t hot enough, the collagen won’t break down and it won’t gel, and if it gets too hot for too long it will break down the gelatin and won’t gel. I suspect prolonged cooking time could also break down the gelatin, so that may be at play here — or it may be due to the added water on the second day, but it simmered for an additional 10 hours after I added the water, so I don’t think that’s it. The color of this sample was darker than the 12 hour sample but very similar in color to a dark chicken broth. The flavor was definitely improved but not as strong as I normally get from my stove simmered broth. However, the bones were pretty heavily pitted and all of the smaller ones could be broken apart.
Stock pot broth after 48 hours. Call the cops because someone stole all my gel!
4.) Crock Pot 24 Hours – This sample had a very hard gel and was like Jello. You could tip the jar sideways and it wouldn’t budge. The color was a nice rich “beefy” brown, as was the flavor. The broth had a nice mouth feel. This was about as good of a broth as I have ever made. I didn’t check the condition of the bones at 24 hours.

Crock pot broth after 24 hours. If it were any more perfect it would be Chris Hemsworth.

See what I mean???
5.) Crock Pot 48 Hours – While this sample gelled more than samples 1 and 2 above, it actually gelled less than the 24 hour crock pot sample. The color was a nice rich “beefy” brown (slightly darker than the 24 hour sample). The flavor was very similar to the 24 hour sample, only perhaps not quite as flavorful. I suppose both the slight loss of gel and flavor could be due to the added water, but like the stockpot, I simmered for a full 10 hours after I added the last bit of water. So again, I’m not quite sure. I think it is more likely here that the longer cooking time broke down the gelatin a bit. The broth had a nice mouth feel — pretty much the same as the 24 hour sample. Bones were pretty heavily pitted and all of the smaller ones could be broken apart.

Comparison of 24 hour and 48 hour crock pot broth. Slightly less gel in the latter sample.
My Thoughts on the Results:
Instant Pot: This was a complete failure. I have previously made lamb broth in the Instant Pot and it came out fine, so I know it can be done. So what happened here? I suspect using frozen bones effected the results. I think thawed bones would have worked much better in the instant pot (The lamb bones I used were thawed). I also think I cooked the lamb broth for 4 hours instead of just 2. However, many people out there are using their Instant Pots for 1 to 2 hours and getting great results. My recommendation: Don’t use frozen bones! lol Also, after 2 hours, let your pot pressure release naturally then open it up and take a peek. If it still looks pale, you can easily fire it up for another 2 hours (or longer if needed). Pressure cookers are definitely a good solution for folks that are concerned about leaving an appliance on while they are sleeping or aren’t home. You may need to do a little personal experimenting to find the perfect time that works best for you — I clearly still need to do some tweaking!

Wait! I said I need to do some tweaking NOT twerking.
I’ve had some feedback that indicated that I may have filled the Instant Pot too much. I filled it to the maximum fill line marked inside the pot, but perhaps it may be too high for beef bone broth. If anyone has any other feedback on your results for using the Instant Pot for bone broth, feel free to add a comment.
Stove Top: I was a little surprised by the results of my stove top batch. I usually get a better gel from my broth. Although that being said, I do occasionally have bad gelling batches. The color and flavor also seemed to be a bit lighter than I normally get on my stove top. Although unless I cook it for 48 hours, I rarely get the deep beefy brown color that the crock pot samples got in this experiment. It may in part be due to the cooking temperature of my stove— the low setting on my stove is clearly not as hot as the low setting on the crock pot. One of the things I was personally looking to get from this test was to see whether I should be cooking my broth for 48 hours as opposed to the 24 hours I normally do. I think from now on if I am cooking big batches on the stove top, I will shoot for 48 hours — or do 24 hours at a slightly higher temperature to maintain an active simmer. I see no reason why the stove top and crock pot wouldn’t be pretty much the same if I can adjust the temperature a little. Don’t let the results of this test as compared to the crock pot results dissuade you from stove top cooking. Rather, use it as a guide for what you may try of your broth isn’t has dark or rich as you think it should be. You may need to adjust your heat or time somewhat. I think this is probably less of a problem for those with gas stoves as those of us with electric.
Crock Pot: Not much to say. This was pretty much a success across the board. I do not see any reason to cook longer than 24 hours in the crock pot from a taste and flavor standpoint. The 24 hour sample was as perfect of a broth as I have ever made. I don’t know how many more minerals you are drawing out in the second 24 hours. I found this post a while back and it seems to indicate that mineral content does not significantly increase with prolonged cooking time. I don’t have any other scientific justification for this, so feel free to cook as long as you like, but my gut (and taste buds) tells me that 24 hours in my crock pot is long enough.
Was this helpful? Not helpful? Its definitely not definitive, but I found it to be quite interesting. And I am not doing to have to make another batch of bone broth for a long while. 🙂


